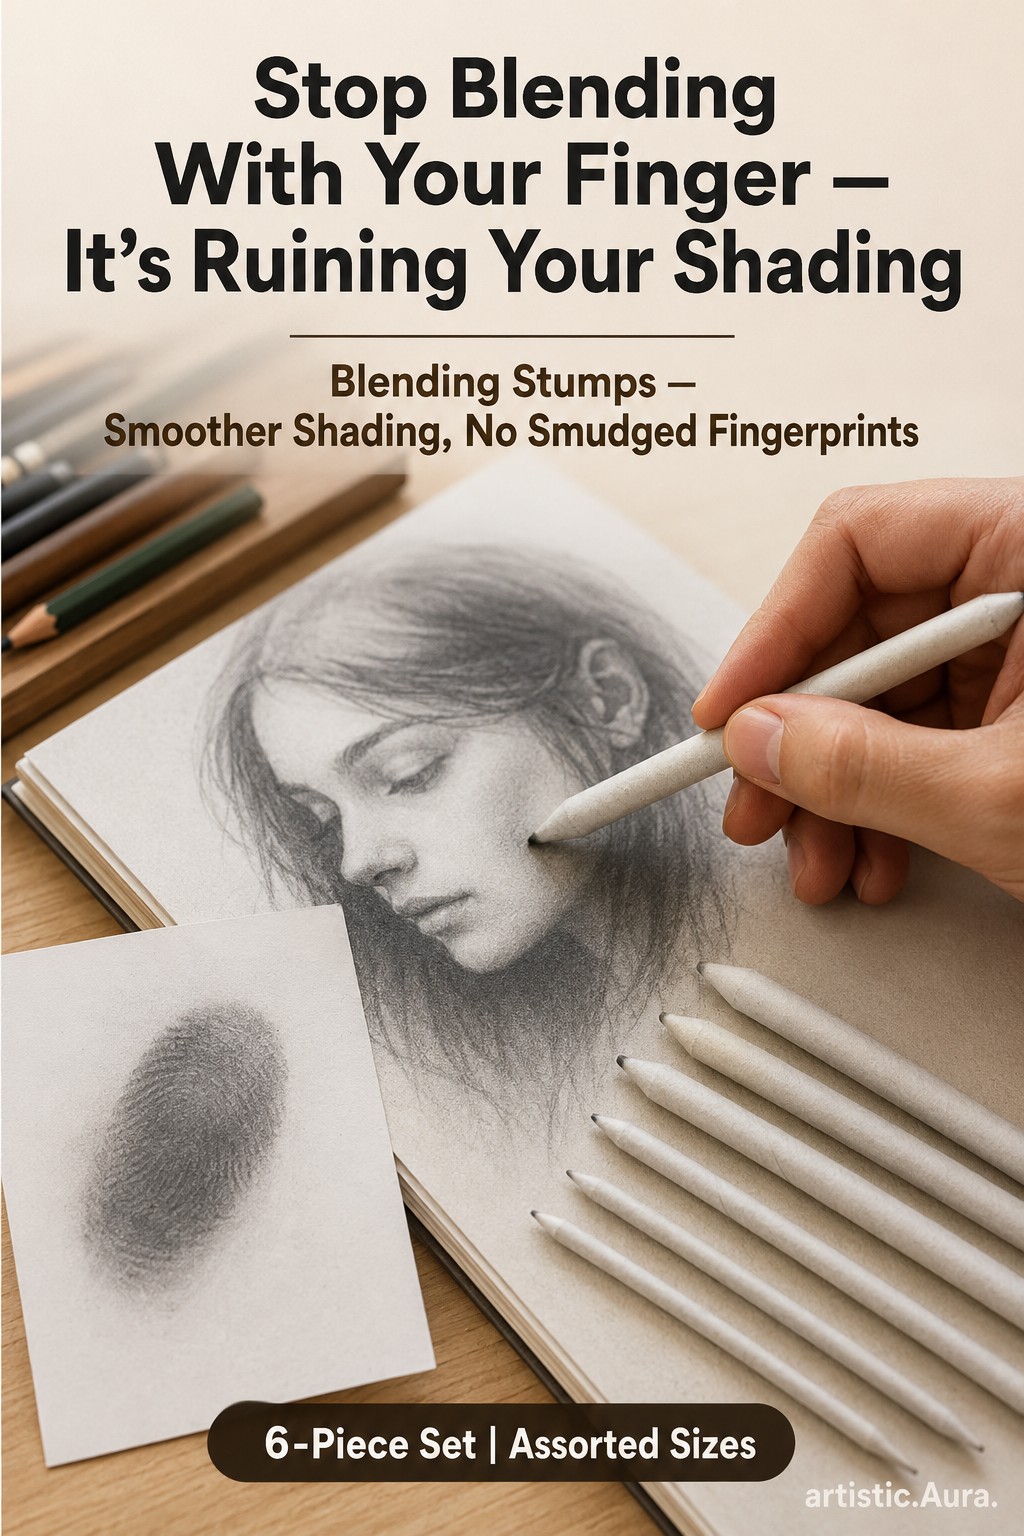
Most traditional drawing problems are not caused by a lack of skill. They are caused by using the wrong tool for a specific job — smudging graphite with a finger and wondering why it looks greasy, scrubbing at a highlight with a hard eraser and tearing the paper, or finishing a drawing that then smears in a bag. Each of the small accessories below exists to solve one specific problem. This guide explains what each one actually does, so you can decide which ones you genuinely need rather than buying a full starter kit you will not use.
Quick Answer
If you draw in graphite or charcoal and own nothing beyond pencils and paper, the two accessories that change results most immediately are a kneadable eraser (for lifting and lightening) and a blending stump (for controlled smoothing). Fixative, sandpaper pointers and artist tape solve narrower problems and can wait until you hit them.
Blending Stumps and Tortillons
A blending stump is a tightly rolled paper cylinder, pointed at one or both ends, used to push graphite or charcoal around on the paper surface. A tortillon is the same idea in a thinner, more tightly wound form, better suited to small areas.
The reason to use one instead of a finger is control and cleanliness. Skin deposits oil onto the paper, which changes how later layers of graphite sit on the surface and can leave a patchy sheen. A paper stump moves pigment without adding oil, and its point lets you blend a specific shadow edge rather than a whole region at once.
Worth knowing: stumps load up with graphite as you use them and gradually stop blending cleanly. They are consumable. You can restore the tip by rubbing it on a sandpaper block, which also explains why those two tools are often sold alongside each other.
Blending Stump vs. Tissue vs. Finger
- Blending stump — precise, no oil transfer, best for edges, small shadows and gradual transitions.
- Tissue or paper towel — covers large areas fast and produces a soft, even base tone, but gives you almost no precision.
- Finger — always available, but transfers skin oil and tends to flatten tonal variation into one muddy value.
Most traditional workflows use more than one: tissue to lay down a broad base tone, then a stump to shape specific areas within it. If you want to see a specific option, we've reviewed a 6-piece blending stump and tortillon set.
Kneadable Erasers vs. Standard Erasers
A kneadable eraser is a soft, putty-like eraser that you shape with your hands. Instead of abrading the paper to remove graphite, it lifts particles off the surface when pressed and pulled away. This matters for two reasons.
First, it is much gentler on paper. Vinyl and rubber erasers work by friction, which roughens the paper fibres; once a surface is damaged, graphite laid over it behaves differently and the repair is visible. A kneadable eraser leaves the surface largely intact.
Second, it works as a drawing tool rather than only a correction tool. Because you can shape it to a point, a wedge or a flat edge, it can be used to lift highlights out of an already-shaded area — pulling light back out of a dark passage is a standard graphite and charcoal technique that a hard eraser cannot do subtly.
The trade-off: kneadable erasers are poor at completely removing heavy, dark graphite. For a hard, total erase, a vinyl eraser still does the job better. Many people keep both. We've reviewed a 3-pack of kneadable erasers if you want a closer look at one.
Sandpaper Pointers
A sandpaper pointer (or sharpening block) is a small pad of sandpaper sheets used to shape a pencil tip or clean a blending stump. It is most relevant if you work with graphite sticks, charcoal, or want a chisel or wedge tip rather than the cone a standard sharpener produces.
If you draw exclusively with a mechanical pencil, you almost certainly do not need one. If you use traditional wood-cased pencils and want to control the exact shape of the tip — a broad flat edge for shading, a fine point for detail — this is the tool that does it. The sheets are consumable and are torn off as they wear out. We've reviewed a sandpaper pencil pointer for exactly this.
Fixative Spray
Fixative is an aerosol coating sprayed over finished graphite, charcoal or pastel work to reduce smudging. Dry drawing media sit on top of the paper rather than soaking into it, which is exactly why they smudge so easily; fixative binds those loose particles to the surface.
Two practical distinctions matter. Workable fixative is intended to let you keep drawing over the sprayed layer, which is useful for building up charcoal in stages. Final fixative is intended for finished work and is not designed to be drawn over.
On safety: these are aerosol products with solvents, so use them in a well-ventilated area and follow the specific directions on the can rather than general advice — spray distance, drying time and recoat guidance vary between products, and the manufacturer instructions are the authority. It is also worth testing on a scrap piece of the same paper first, since fixative can slightly darken a drawing or change how the paper looks. We've reviewed an artist fixative spray if you're comparing options.
Artist Tape
Artist tape is a low-tack, usually acid-free tape used to hold paper down and to mask clean borders. The reason it exists as a separate product from regular masking tape is adhesive strength: standard tape often bonds strongly enough to tear the paper surface when removed, particularly on softer drawing and watercolour papers.
Its two common uses are holding a sheet flat to a board while you work, and creating a crisp white margin around a finished drawing. If you work with wet media, taping the edges also helps limit how much the paper buckles. We've reviewed a roll of artist tape if you want specifics.
White Gel Pens
A white gel pen lays down opaque ink on top of whatever is already on the page, which makes it useful in two directions. The first is correction: a fineliner or ink mistake is permanent in a way a pencil mistake isn't, since there's no eraser fix once the line is down, and an opaque gel ink can cover a small slip cleanly instead of leaving a visible smear or scratch-out.
The second, more common use is as a highlight and detail pen on black or dark-toned paper, where an ordinary pen, pencil or even white paint marker often doesn't show up at all or goes on patchy. Coverage quality varies a lot between white gel pens — a genuinely opaque one is worth paying attention to if you plan to work on toned paper regularly. We've reviewed a 3-pack of white gel pens on coverage specifically.
Fine Mist Spray Bottles
This one is specific to watercolor rather than graphite or charcoal work, but it belongs in the same "small accessory that solves one real problem" category. Watercolor pans dry out and crack between sessions, and a wet brush alone rehydrates them unevenly, giving patchy, inconsistent pigment pickup on the first few strokes.
A fine mist spray bottle reactivates the whole pan evenly in a couple of seconds. The reason to reach for one specifically labelled "fine mist" rather than a generic spray-trigger bottle is that ordinary triggers tend to produce large droplets that drip and pool — fine for rinsing something outdoors, but likely to leave blotches if it lands on paper you're about to paint on. The same fine, even mist is also used to pre-wet paper before a wet-in-wet wash, where drips would show up as visible marks once the paint goes down. We've reviewed a 300ml fine mist spray bottle built for this.
Mistakes Worth Avoiding
- Buying a full accessory kit before you have a problem. Each of these tools solves a specific failure. Buy the one that matches the failure you are actually hitting.
- Blending everything. Over-blending removes the tonal variation and mark-making that make a drawing feel alive, leaving a flat grey surface.
- Using a dirty stump. A fully loaded blending stump smears old graphite into new areas instead of blending the marks in front of it.
- Spraying fixative without testing. Test on scrap paper of the same type first, and follow the product label.
- Using packing tape on drawing paper. The adhesive is far too aggressive for most paper surfaces.
Where to Start
If you are building a traditional graphite setup from nothing, a kneadable eraser and one or two blending stumps cover the widest range of everyday situations. Add a sandpaper pointer if you want control over tip shape, artist tape if your paper moves or you want clean borders, and fixative once you actually need to transport or store finished work without it smudging.
Frequently Asked Questions
Do I need a blending stump if I already blend with tissue?
They do different jobs. Tissue is good for laying down broad, even base tone across a large area; a stump gives you precision on specific edges and small shadows. Many traditional workflows use both rather than choosing one.
What is the difference between a kneadable eraser and a normal eraser?
A kneadable eraser lifts graphite off the surface when pressed against it and can be shaped to a point to pull out highlights. A vinyl or rubber eraser removes marks by abrasion, which is more effective on heavy dark graphite but rougher on the paper surface.
What does fixative spray actually do?
It coats finished dry media so the loose graphite, charcoal or pastel particles bind to the paper instead of smudging. Workable fixative is meant to be drawn over in stages; final fixative is for completed work. Always follow the directions printed on the specific product.
Can I use regular masking tape instead of artist tape?
It is riskier. Standard masking and packing tapes generally use a stronger adhesive, which can lift or tear the paper surface on removal. Artist tape is made low-tack specifically to avoid that.
Do I need a sandpaper pointer if I use mechanical pencils?
Generally no. Sandpaper pointers are for shaping wood-cased pencils, graphite sticks and charcoal, or for cleaning a loaded blending stump. A mechanical pencil already produces a consistent fixed-width point.
What is a white gel pen actually used for?
Two things: covering small, permanent ink mistakes from a fineliner pen, and adding highlights or fine detail on black or dark-toned paper where a regular pen or pencil wouldn't be visible. Coverage opacity varies between brands, which matters more for the highlight use than the correction use.
Why use a fine mist spray bottle instead of a regular spray bottle for watercolor?
A regular spray-trigger bottle tends to produce larger droplets that drip and pool, which can leave blotches on watercolor paper or an uneven result on a dried paint pan. A fine, even mist rehydrates a pan evenly and pre-wets paper for wet-in-wet technique without the drip marks.